Inspired by the classic conversation candy hearts, this crochet wall hanging is the perfect fun and easy project for Valentine’s Day.

For this project, I use a mix of tapestry and intarsia crochet styles, using bobbins for the larger sections, and carrying the yarn and using floats when there are a lot of back and forth color changes. When I started doing color work, I didn’t know the different styles so I just did what made sense to me. After a few projects, I did more research into intarsia and tapestry crochet, which helped clarify some things, but I will still use aspects of both in projects if I think it needs it. For example, in this design I use bobbins for each side of the background and the shadow, but carry the yarn behind the letters. You can use whatever method works best for you!
For the yarn, use any basic medium weight acrylic yarn. I chose Loops & Threads Impeccable yarn from Michaels because it comes in a wide variety of colors and it’s frequently on sale. I went with pink for my heart, but you can use any color you want, just use a lighter and darker shade of the same color for the heart and the shadow.
This Valentine’s Day Wall Hanging is crocheted in turned rows of single crochet, following the color chart.
Pattern Notes
Techiques used:
- Chain (ch)
- Single Crochet (sc)
Materials Needed:
- Yarn: worsted weight/4 medium acrylic yarn in 3 colors
- I used Loops & Threads Impeccable yarn from Michaels
- A: Aran
- B: Rich Orchid
- C: Soft Rose
- Crochet Hook G/7 – 4.50mm
- Tapestry Needle
- Scissors
- Wood stick/dowel, at least 12″ long, such as these from Michaels.
Note on changing colors:
When you are changing colors, start the change at the last step of the previous stitch. Make sure that your working yarn is always at the back of your work. This can be somewhat tricky when changing colors while working on the wrong side of the work. When switching colors, hold your working yarn in front of your stitches towards the back of the work.


Pattern
Foundation: With color A. chain 44
R1: Sc in each chain across. Turn. (43)
R2-55: Ch 1, sc across changing color as directed by the chart.

Blocking your wall hanging
It is super helpful to block your project when making a wall hanging so the sides are crisp and neat! You can use a handheld fabric steamer or the steam function on your iron (just don’t iron it, especially if you used acrylic yarn) or the more traditional blocking method of wetting the work and pinning it to a blocking board. I like to use a bit of both. I pin it to my blocking board and then use a steamer. Then I’ll leave it for a few hours to help it shape.
Adding fringe to your wall hanging
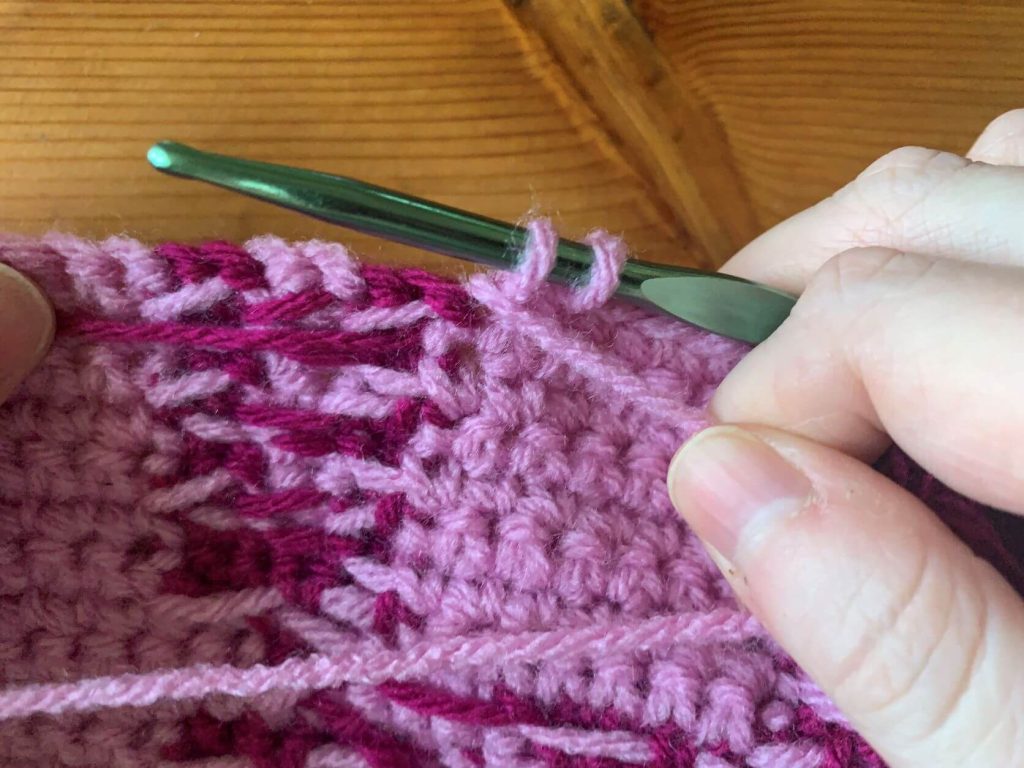
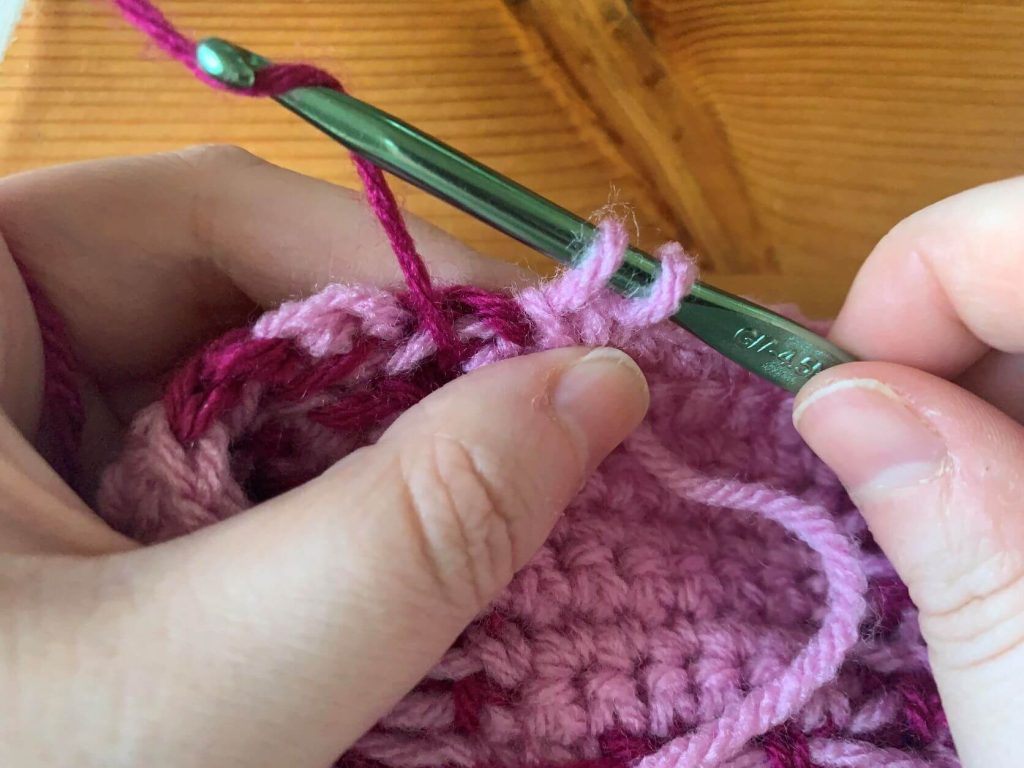
Cut 6″ strips of colors B and C. With the front of your work facing you, insert your hook into the stitch in row 1. Making sure that the ends are equal, grab a strip of yarn and pull through. With the ends, yarn over and pull through. Continue across your work. If needed, trim the fringe so it is even across.


Attaching to the dowel
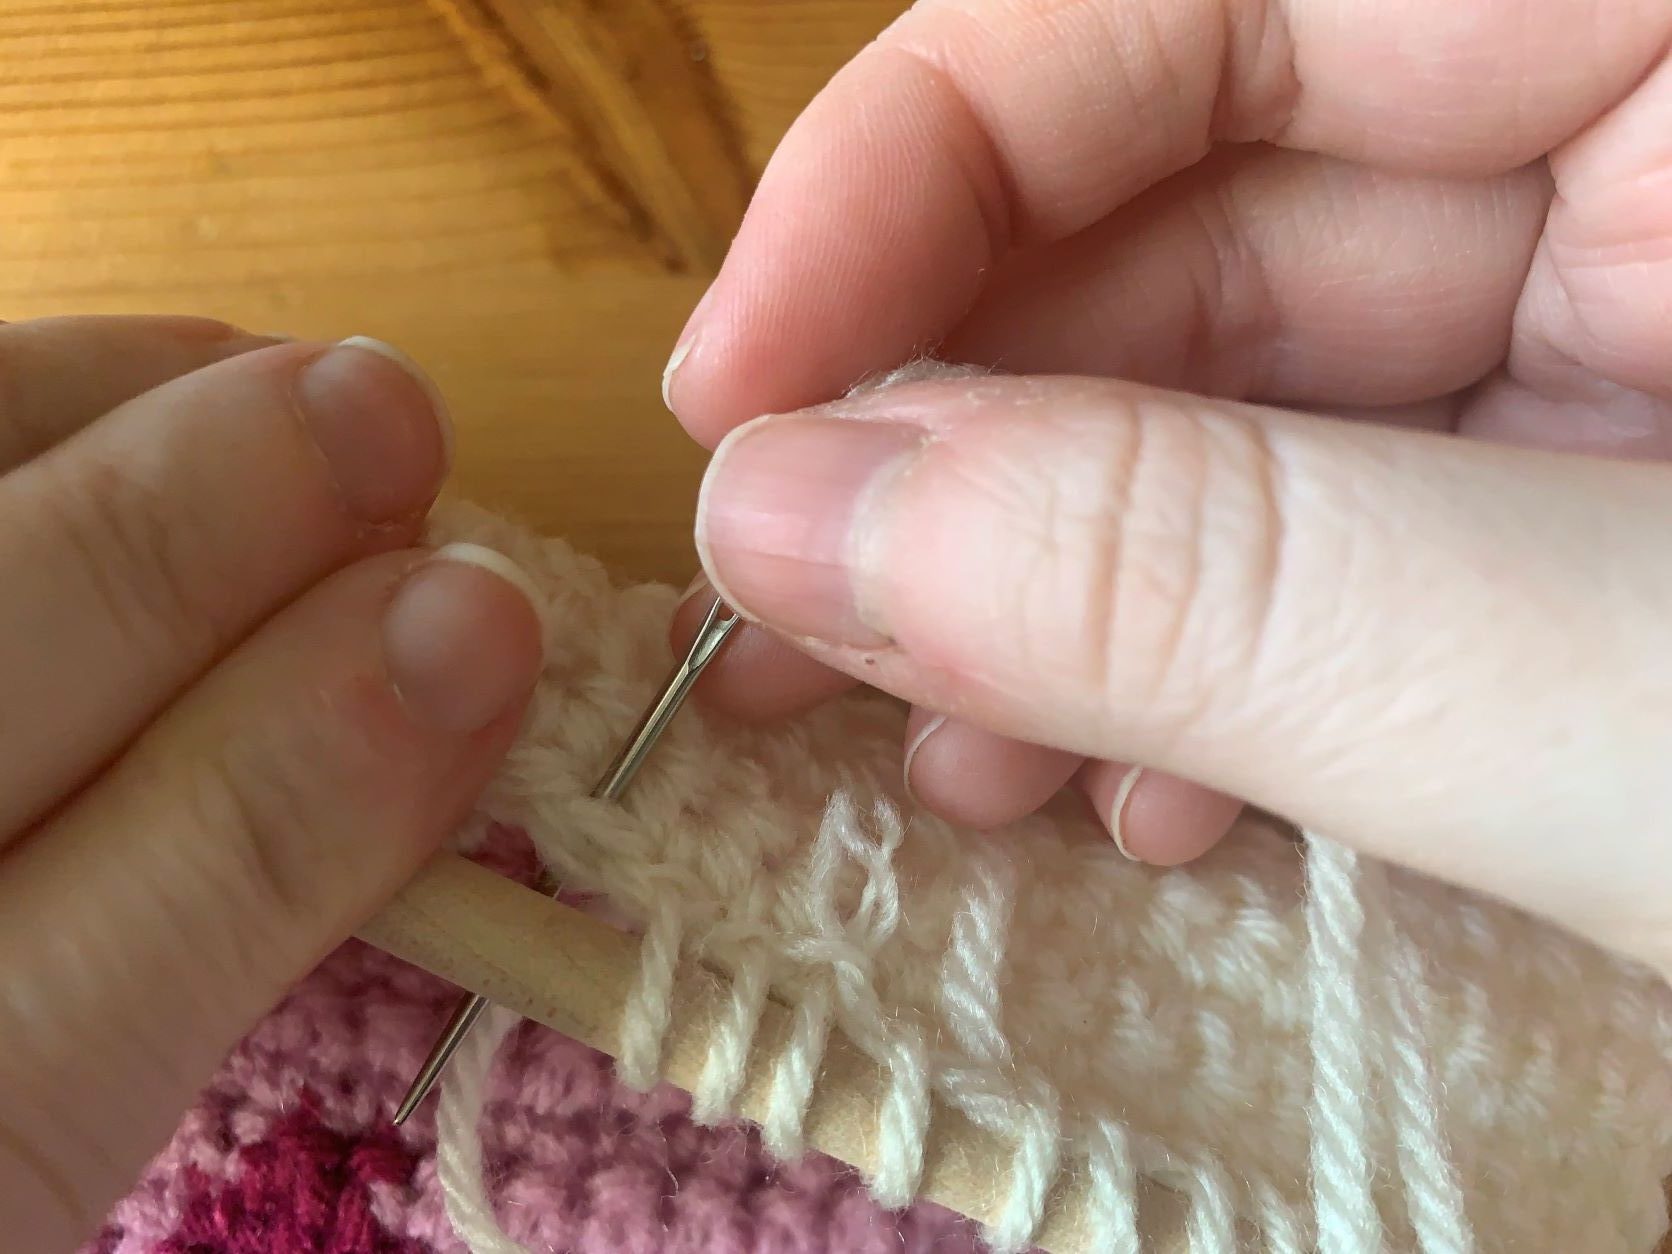
Using a tapestry needle, sew your hanging on to the dowel. Insert your needle into the top of row 55, and wrap around the dowel. To create the hanger, attach your yarn to one end of the dowel and chain 60. Tie the chain to the other end of the dowel.


Weave in your ends, and you’re done!

I hope you enjoy making this Valentine’s Day Crochet Wall Hanging! How did yours turn out? Share it with us over on Instagram @theveryhungrycrafter.


Leave a Reply